
What we're going to be building
We will be building a simple blog site using Nuxt which is a framework popularly used for server side rendering and Static Site Generation with Vue.
We'll also be using Nuxt Content which is a module which acts as a Git-based Headless CMS that fetches your Markdown, JSON, YAML, XML and CSV files through a MongoDB like API. It has powerful features that allow you to write blogs, documentations and more.
Prerequisites
Before we dive right in, you should have:
- A basic understanding of HTML, CSS & JS, Vue and the Markdown syntax
- Node installed
- A text editor, we recommend VS Code with the Vetur extension or WebStorm
- A terminal, I recommend using VS Code's integrated terminal
Getting Started
Let's install everything we need for the project.
Install nuxt using create-nuxt-app
To get started quickly you can use the create-nuxt-app.
Make sure you have npx installed (npx is shipped by default since npm 5.2.0) or npm v6.1 or yarn.
npx create-nuxt-app <project-name>
Choose Content - Git-based Headless CMS option from Nuxt.js modules
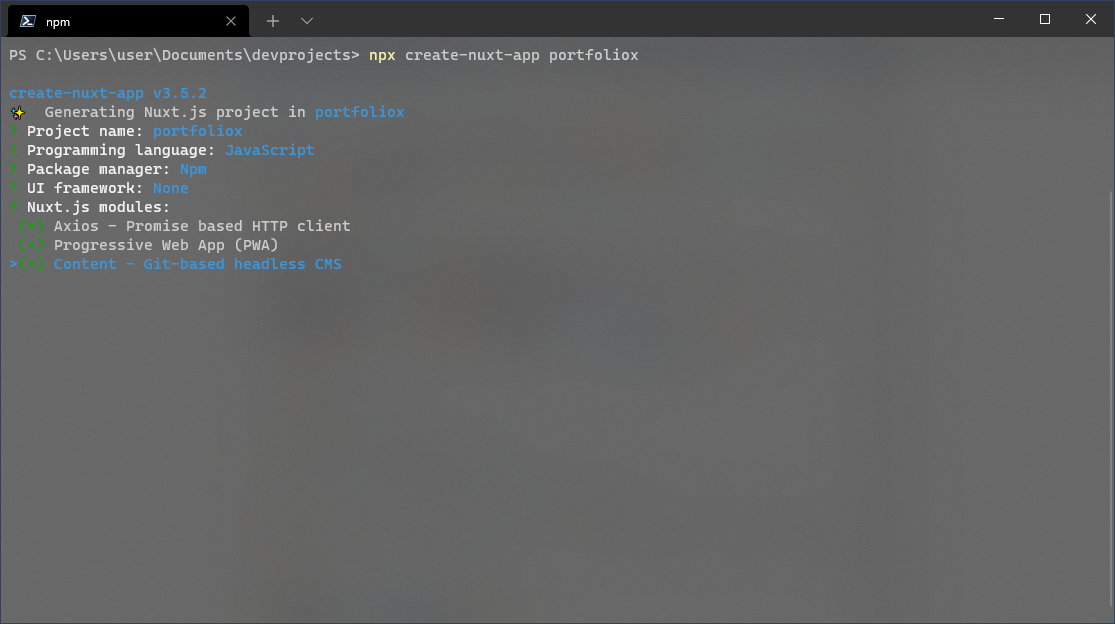
Proceed to select other options, here's my preset:
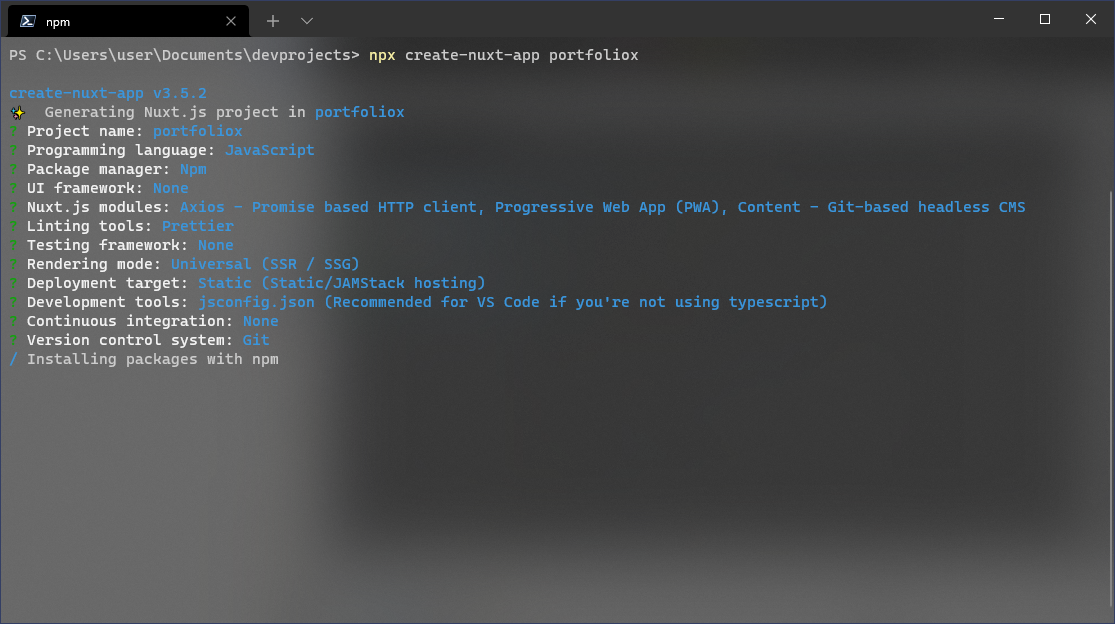
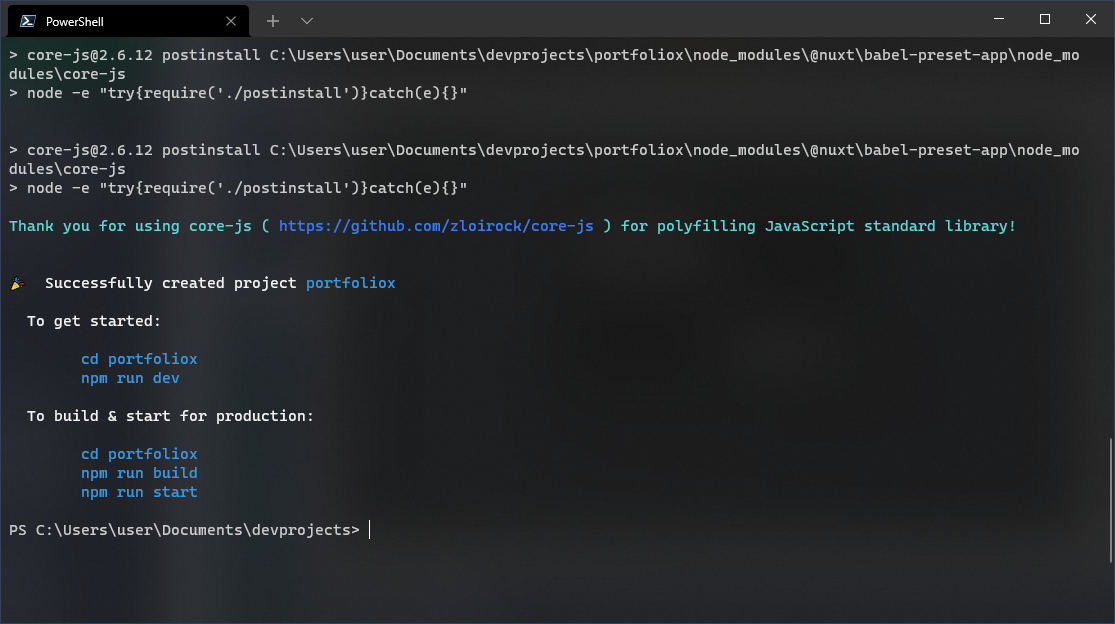
Installation complete! 🎉
Install nuxt content separately
If you already have Nuxt setup before now, you can install the content module by running the command
#install nuxt content

npm install @nuxt/content
Then we can add it to our modules property inside our nuxt.config file.
//nuxt.config.js
export default {
  modules: ['@nuxt/content'],
}
Install Tailwind and Tailwindcss typography via npm
Tailwindcss is a utility first css framework that provides us with custom classes we can use to style our app.
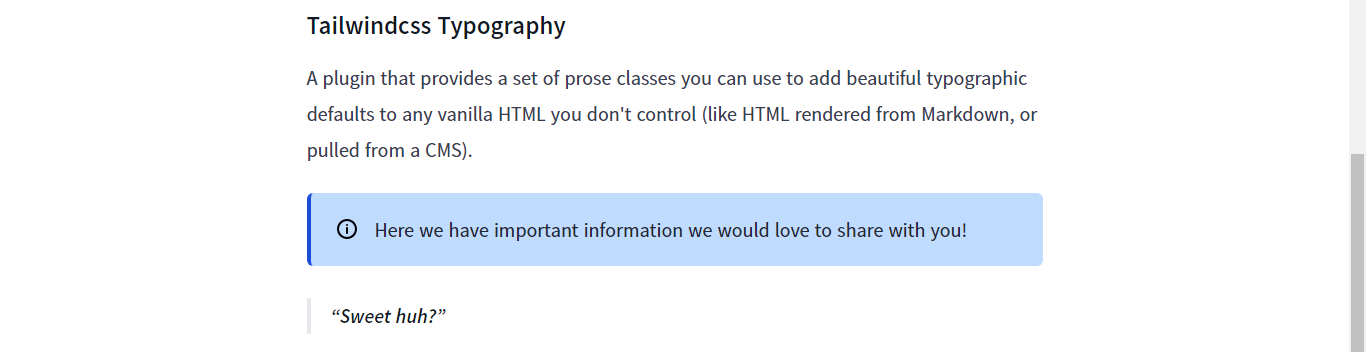
Tailwindcss Typography is "A plugin that provides a set of prose classes you can use to add beautiful typographic defaults to any vanilla HTML you don't control (like HTML rendered from Markdown, or pulled from a CMS)."
Install @nuxtjs/tailwindcss which is a nuxt module for tailwind integration as well as Tailwind and its peer-dependencies using npm:
npm install -D @nuxtjs/tailwindcss tailwindcss@latest postcss@latest autoprefixer@latest
Add the @nuxtjs/tailwindcss module to the buildModules section of your nuxt.config.js file:
// nuxt.config.js
export default {
  buildModules: ['@nuxtjs/tailwindcss'],
}
Create your configuration file
Next, generate your tailwind.config.js file:
npx tailwindcss init
This will create a minimal tailwind.config.js file at the root of your project:
//tailwind.config.js
module.exports = {
  purge: [],
  darkMode: false, // or 'media' or 'class'
  theme: {
    extend: {},
  },
  variants: {
    extend: {},
  },
  plugins: [],
}
Create a tailwind.css file in assets/css.tailwind.css use the @tailwind directive to inject Tailwind’s base, components, and utilities styles:
/*assets/css/tailwind.css*/
@tailwind base;
@tailwind components;
@tailwind utilities;
You can import the css file into your components or make it accessible globally by defining the CSS files/modules/libraries you want to set globally (included in every page).
  /* nuxt.config.js*/
  // Global CSS: https://go.nuxtjs.dev/config-css
  css: [
    // CSS file in the project
    '@/assets/css/tailwind.css',
  ],
Install Tailwind typography
# Using npm
npm install @tailwindcss/typography
Then add the plugin to your tailwind.config.js file:
// tailwind.config.js
module.exports = {
  purge: [],
  darkMode: false, // or 'media' or 'class'
  theme: {
    extend: {},
  },
  variants: {
    extend: {},
  },
  plugins: [require('@tailwindcss/typography')],
}
Configure Tailwind to remove unused styles in production
In your tailwind.config.js file, configure the purge option with the paths to all of your pages and components so Tailwind can tree-shake unused styles in production builds:
// tailwind.config.js
module.exports = {
  purge: [
    './components/**/*.{vue,js}',
    './layouts/**/*.vue',
    './pages/**/*.vue',
    './plugins/**/*.{js,ts}',
    './nuxt.config.{js,ts}',
  ],
  darkMode: false, // or 'media' or 'class'
  theme: {
    extend: {},
  },
  variants: {
    extend: {},
  },
  plugins: [require('@tailwindcss/typography')],
}
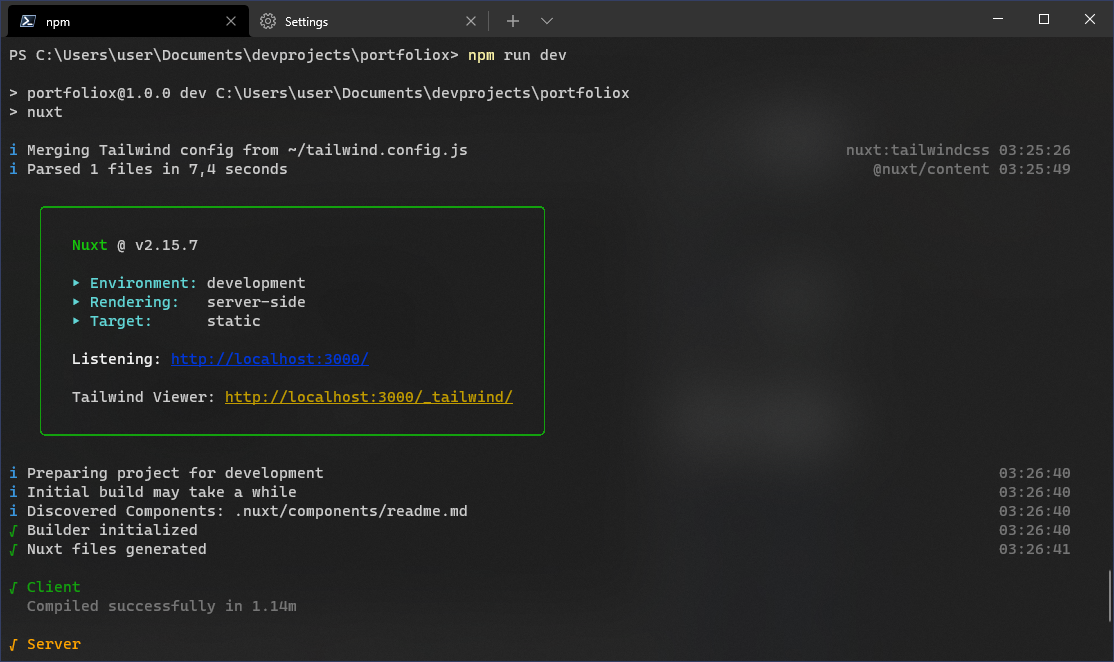
Now run
npm run dev
Quick note
While going through these steps, I ran into an issue of mismatched packages while trying to run npm run dev
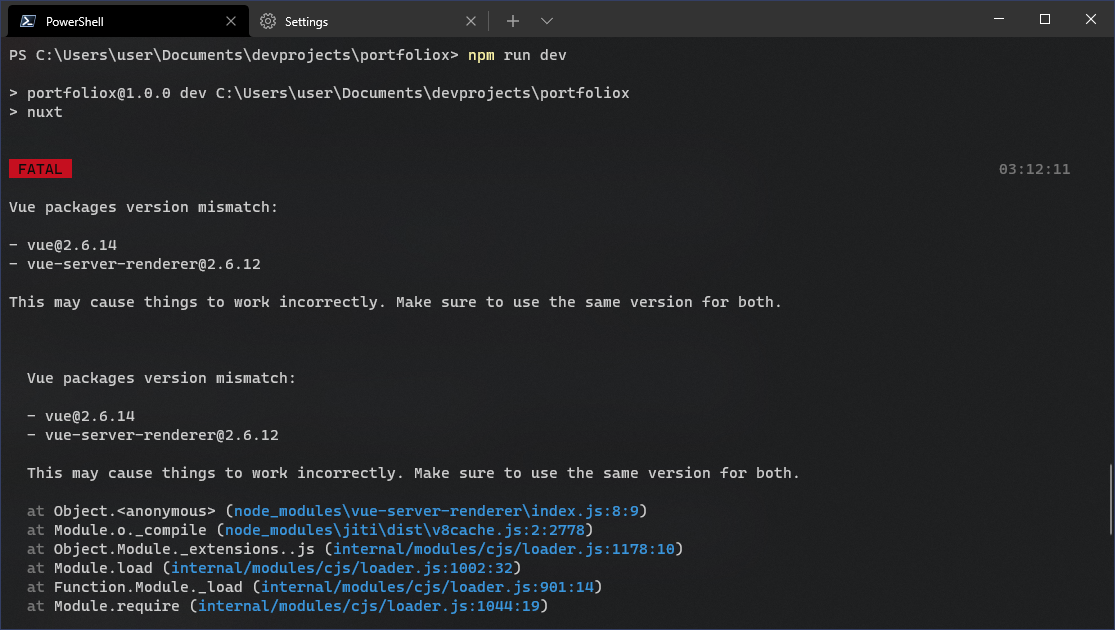
Here's how I fixed it:
update the mismatched package(s), which in my case was the vue-server-renderer
npm i vue-server-renderer@latest --save
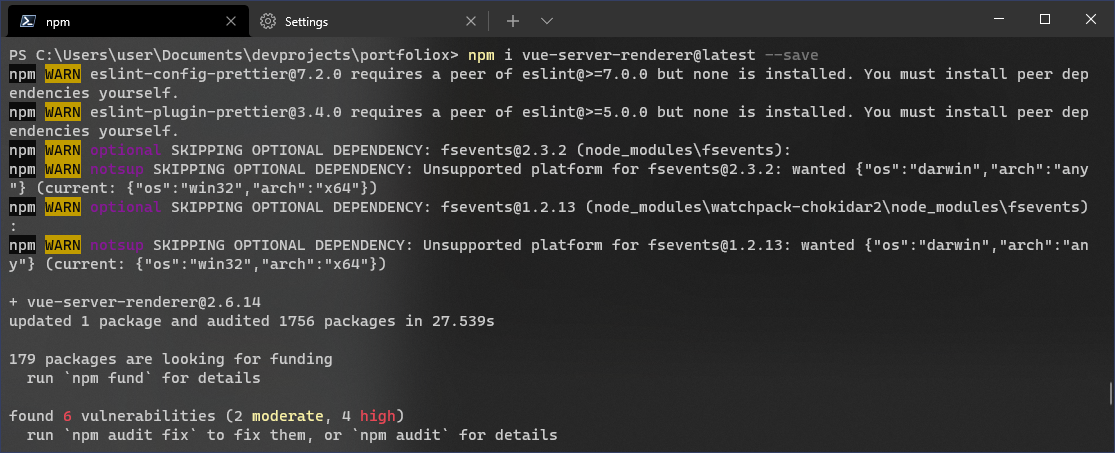
That fixed it for me, when I ran npm run dev
Sweet! 🎉, now we can move into the interesting stuff
Create your first blog post
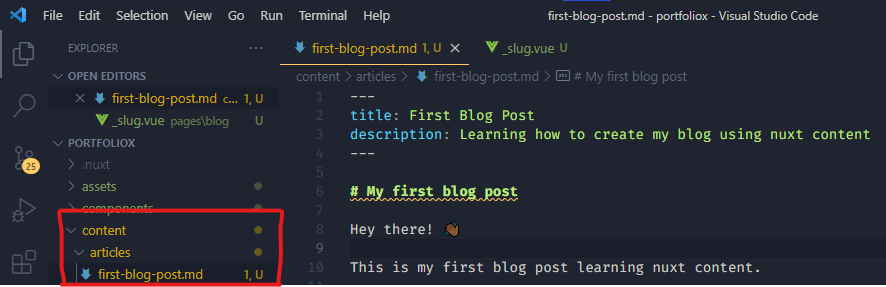
The content module works by reading the files in our content/ directory.
So, navigate to content/ and create an articles/ folder.
Create a first-blog-post.md file and
insert the following
content/articles/first-blog-post.md
---
<!--- YAML Front matter section in-between triple dashes '---' -->
title: First Blog Post
description: Learning how to create my blog using nuxt content
---
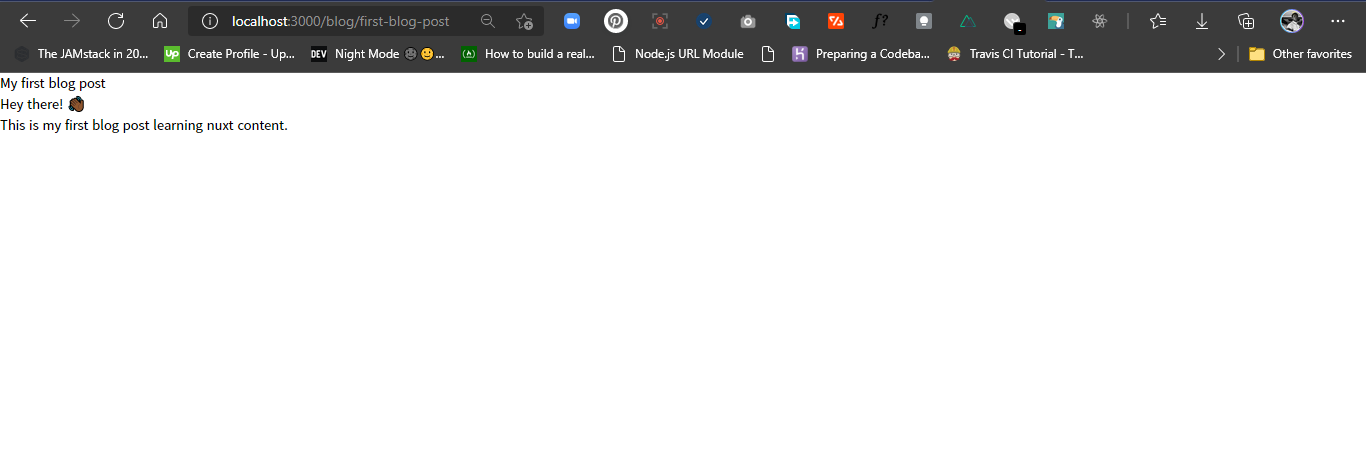
# My first blog post
Hey there! 👋🏾
This is my first blog post learning nuxt content.
$content.Next, we're going to create a dynamic page which will be used to:
- fetch the article content using
asyncDatabefore the page has been rendered. We have access to our content through the context by using the variable$content. Since we are using a dynamic page, we can know what article file to fetch using theparams.slugvariable provided by vue router to get the name of each article - render the article in the template using
<nuxt-content>
Ok, navigate to pages/ and create a blog/ folder.
Create a _slug.vue (our dynamic page) file and
insert the following
pages/blog/_slug.vue

<template>
  <article>
    <!-- this is where we will render the article contents -->
    <nuxt-content :document="article" />
  </article>
</template>

<script>
  export default {
    async asyncData({ $content, params }) {
      //here, we will fetch the article from the article/ folder based on the name provided in the 'params.slug`
      const article = await $content('articles', params.slug).fetch()

      return { article }
    },
  }
</script>
To display our content we are using the <nuxt-content /> component by passing in the variable we returned into the :document="article" document prop.
Go to your site and you should see something like this
Accessing default injected variables
The content module provides lots of injected variables which we can use in our template. Some of the ones will be using are:
- body: body text
- dir: directory
- extension: file extension (.md in this example)
- path: the file path
- slug: the file slug
- toc: an array containing our table of contents
- createdAt: the file creation date
- updatedAt: the date of the last file update
We can access this data using the article variable we created. Let's check them out by printing it with a <pre> tag in our template
<pre> {{ article }} </pre>
We should see something like this on our page
{
  "slug": "first-blog-post",
  "toc": [],
  "body": {
    "type": "root",
    "children": [
    // article content
    ]
  },
  "dir": "/articles",
  "path": "/articles/first-blog-post",
  "extension": ".md",
  "createdAt": "2021-07-11T02:34:43.695Z",
  "updatedAt": "2021-07-11T03:33:33.608Z"
}
Custom injected variables
We'll also use this to display custom injected variables specified in the YAML front matter which must be valid YAML at the top of the file. This is useful for adding SEO variables such as title, description and image of your article.
<template>
  <article class="article">
      <!-- Our custom injected variables specified with the The YAML front matter goes here  -->
      <header class="article-header">
          <h1>{{article.title}}</h1>
          <p>{{article.description}}</p>

          <!-- container for article details -->
          <div class="details-cont">
              <!-- the format date function converts the default date to a readable form -->
              <span>{{formatDate(article.updatedAt)}}</span>
          </div>
      </header>

      <!-- this is where we will render the article contents -->
      <nuxt-content :document="article" />
  </article>
</template>

<script>
export default {
    async asyncData({ $content, params }) {
    //here, we will fetch the article from the article/ folder based on the name provided in the 'params.slug`
        const article = await $content('articles', params.slug).fetch();

        return {article}
    },
    methods: {
        // format the date to be displayed in a readable format
        formatDate(date){
            return new Date(date).toLocaleDateString('en', {year: 'numeric', month: 'long', day: 'numeric'})
        }
    }
}
Notice the formatDate function which we use to convert the article.updatedAt value to a more readable date.
We should have something like this:
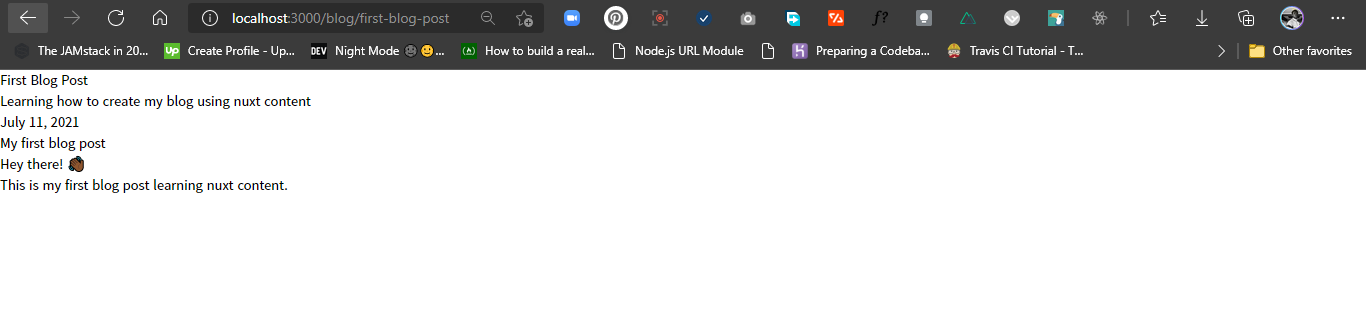
Now, we have two heading <h1> elements. One from the YAML front matter and the main markdown. We can remove the one in the main markdown.
We can also add more content for the styles:
## <!--- content/articles/first-blog-post -->

title: My First Blog Post
description: Learning how to create my blog using nuxt, the nuxt content module and tailwindcss

---

Hey there! 👋🏾
This is my first blog post learning nuxt content.

I'm currently building it using the following:

- Nuxt.js
- Nuxt Content module
- Tailwindcss
- Tailwindcss typography

> Sweet huh?
Great! 😎 Let's touch it up a bit with some styling.
Styling with Tailwindcss and Tailwindcss typography
The content from our article shows up when we visit the slug along with some custom data. But it looks ugly, let's fix that.
First, we apply the Tailwindcss typography .prose class to the <article> element for some basic styles:
<article class="article prose lg:prose-xl"></article>
Now, we just create our custom styles in pages/blog/_slug.vue
<style scoped>
@layer components {
  .article {
      @apply prose lg:prose-xl;
      @apply p-4 mt-6 lg:mt-8 m-auto lg:max-w-3xl;
  }

  .article-header{
      @apply mb-12 pb-8 lg:mb-16 border-gray-200 border-b-2;
  }

  .article-header h1{
      @apply mb-0;
  }

  .article-header .details-cont span{
      @apply text-opacity-50 text-sm;
  }
}
</style>
Our page now looks like this:
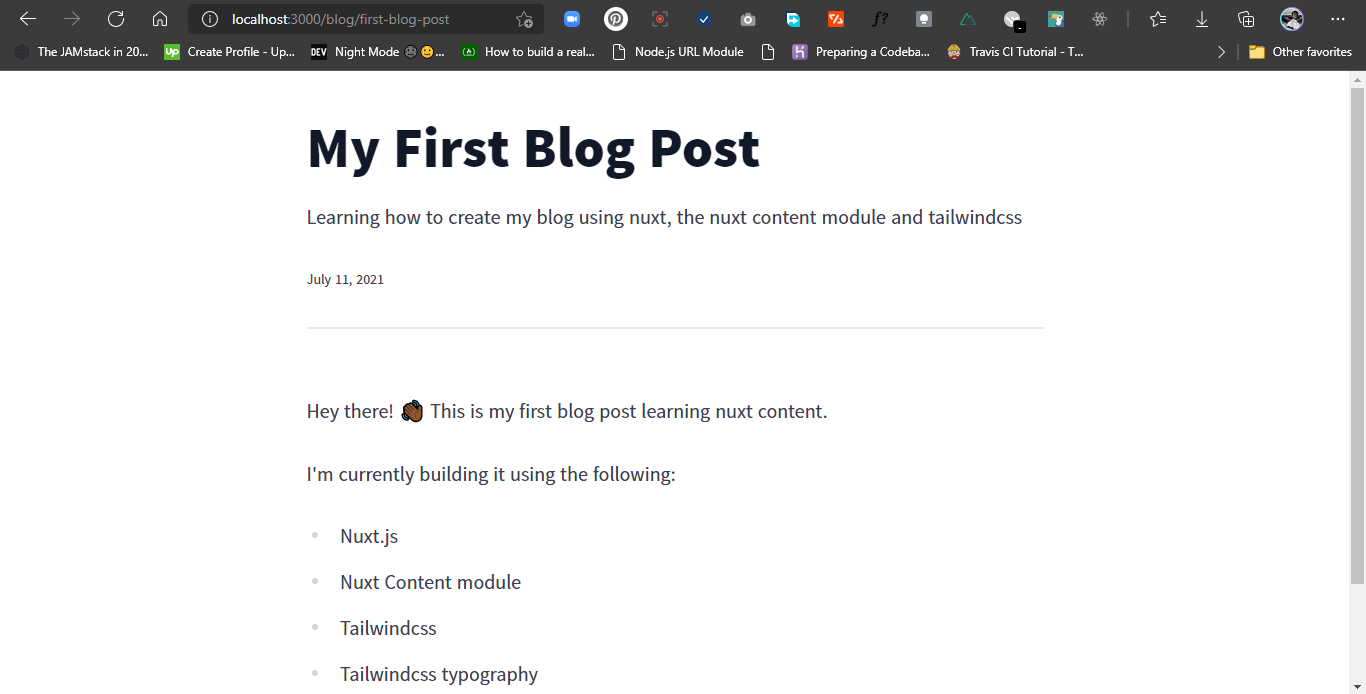
Sweet indeed 😍
Adding HTML markup and Vue components in our article markdown
We can add valid html code in our markdown file. Let's create an info box with some styling
<!--
    content/articles/first-blog-post.md

    ...rest of file

    HTML in markdown
    Info box with svg icon
 -->
<div class="flex gap-4 items-start p-6 bg-blue-200 text-gray-800 border-blue-700 border-l-4 rounded-md">
<span><svg class="text-blue-700" xmlns="http://www.w3.org/2000/svg" viewBox="-2 -2 24 24" width="24" height="24" preserveAspectRatio="xMinYMin" class="icon jam jam-info"><path class="text-blue-700" d='M10 20C4.477 20 0 15.523 0 10S4.477 0 10 0s10 4.477 10 10-4.477 10-10 10zm0-2a8 8 0 1 0 0-16 8 8 0 0 0 0 16zm0-10a1 1 0 0 1 1 1v5a1 1 0 0 1-2 0V9a1 1 0 0 1 1-1zm0-1a1 1 0 1 1 0-2 1 1 0 0 1 0 2z'/></svg></span>
<span class="text-gray-800" style="line-height: initial">Here we have important information we would love to share with you!</span>
</div>
You should have something like this:
Sweet, now we can make this a vue component that can be reused
Create infoBox.vue file in components/global.
<!-- components/global/infoBox.vue-->
<template>
  <div class="info-box">
    <span>
      <svg
        xmlns="http://www.w3.org/2000/svg"
        viewBox="-2 -2 24 24"
        width="24"
        height="24"
        preserveAspectRatio="xMinYMin"
        class="icon jam jam-info"
      >
        <path
          d="M10 20C4.477 20 0 15.523 0 10S4.477 0 10 0s10 4.477 10 10-4.477 10-10 10zm0-2a8 8 0 1 0 0-16 8 8 0 0 0 0 16zm0-10a1 1 0 0 1 1 1v5a1 1 0 0 1-2 0V9a1 1 0 0 1 1-1zm0-1a1 1 0 1 1 0-2 1 1 0 0 1 0 2z"
        />
      </svg>
    </span>
    <span>
      <slot name="info-box"> Some information gets diaplayed here </slot>
    </span>
  </div>
</template>

<script>
  export default {
    name: 'infoBox',
  }
</script>

<style scoped>
  @layer components {
    .icon {
      @apply text-gray-800;
    }

    .info-box {
      @apply flex gap-4 items-start p-6 bg-blue-200 text-gray-800 border-blue-500 border-l-4 rounded-md;
    }

    .info-box span {
      @apply text-gray-800 leading-none;
    }
  }
</style>
components/global folder to register the component globally in order for nuxt to be able to auto import it into <nuxt-content>Now, replace the html with our new infoBox component
<!-- infoBox component automatically imported as global component  -->
<info-box>
  <!-- insert into slot -->
  <template #info-box>
    Here we have important information we would love to share with you!
  </template>
</info-box>
If we view our page, we should still see our info box
The content API
It's pretty awesome that the content module provides an API that we can access on the http://localhost:3000/_content/ route. we can fetch data for all articles on the http://localhost:3000/_content/articles route.
We can access a single article using the slug of the article i.e http://localhost:3000/_content/articles/first-blog-post to access the data for http://localhost:3000/blog/first-blog-post.
Adding Previous and Next Article functionality
We're going to be adding a previous and next article functionality to our blog to navigate to other posts on our sites.
So, let's create about three duplicates of our content/articles/first-blog-post.md file so we can have more posts to navigate to.

Let's create our prevNext.vue component in our components/ folder
Here, we have a nuxt-link component which basically accesses the slug and title of the previous or next article.
<!-- components/prevNext -->

<template>
<!-- ...rest of file -->

<nuxt-link v-if="prev" :to="{ name: 'blog-slug', params: { slug: prev.slug } }" class="prev">
      <span class="icon-cont"><svg</svg></span>
      <span>{{ prev.title }}</span>
</nuxt-link>

<!-- nuxt-link for "next" -->
<!-- ...rest of file -->
</template>
This data is what will be passed as props to the component which we defined here:
<!-- components/prevNext -->

<script>
  export default {
    // create props for prev and next data that will be passed to the component
    props: {
      prev: {
        type: Object,
        default: () => null,
      },
      next: {
        type: Object,
        default: () => null,
      },
    },
  }
</script>
Our new component should look something like this:
<!-- components/prevNext -->
<template>
  <section id="prev-next" class="prev-next">
    <!-- if prev data is available display the link -->
    <nuxt-link
      v-if="prev"
      :to="{ name: 'blog-slug', params: { slug: prev.slug } }"
      class="prev"
    >
      <span class="icon-cont"
        ><svg
          xmlns="http://www.w3.org/2000/svg"
          viewBox="-5 -5 24 24"
          width="24"
          height="24"
          preserveAspectRatio="xMinYMin"
          class="icon jam jam-arrow-left"
        >
          <path
            d="M3.414 7.657l3.95 3.95A1 1 0 0 1 5.95 13.02L.293 7.364a.997.997 0 0 1 0-1.414L5.95.293a1 1 0 1 1 1.414 1.414l-3.95 3.95H13a1 1 0 0 1 0 2H3.414z"
          /></svg
      ></span>
      <span> {{ prev.title }} </span>
    </nuxt-link>
    <!-- else display empty span for styling purposes -->
    <span class="prev" v-else></span>

    <!-- if prev data is available display the link -->
    <nuxt-link
      v-if="next"
      :to="{ name: 'blog-slug', params: { slug: next.slug } }"
      class="next"
    >
      <span>{{ next.title }}</span>
      <span class="icon-cont">
        <svg
          xmlns="http://www.w3.org/2000/svg"
          viewBox="-5 -5 24 24"
          width="24"
          height="24"
          preserveAspectRatio="xMinYMin"
          class="icon jam jam-arrow-right"
        >
          <path
            d="M10.586 5.657l-3.95-3.95A1 1 0 0 1 8.05.293l5.657 5.657a.997.997 0 0 1 0 1.414L8.05 13.021a1 1 0 1 1-1.414-1.414l3.95-3.95H1a1 1 0 1 1 0-2h9.586z"
          />
        </svg>
      </span>
    </nuxt-link>
    <!-- else display empty span for styling purposes -->
    <span class="next" v-else> </span>
  </section>
</template>

<script>
  export default {
    // create props for prev and next data that will be passed to the component
    props: {
      prev: {
        type: Object,
        default: () => null,
      },
      next: {
        type: Object,
        default: () => null,
      },
    },
  }
</script>

<style scoped>
  @layer components {
    /* styling for the components */
    .prev-next {
      @apply flex gap-12 py-8 items-center justify-between m-auto max-w-xl lg:max-w-4xl;
    }

    .prev-next a {
      @apply flex gap-2;
    }
  }
</style>
Now let's get back to our components/blog/_slug.vue.
// components/blog/_slug.vue

export default {
  async asyncData({ $content, params }) {
    const article = await $content('articles', params.slug).fetch()

    // assign the first two objects in returned array to prev & next constant variables
    const [prev, next] = await $content('articles')
      // fetch only the title and slug from the articles
      .only(['title', 'slug', 'updatedAt'])
      // sortby time updated, in ascending order
      .sortBy('updatedAt', 'asc')
      // get the correct slug
      .surround(params.slug)
      // fetch data
      .fetch()

    // return the data to be vailable for use in the file
    return { article, prev, next }

// rest of <script>
We now have the data of the each of the first two sorted articles each in prev & next variables, which we will now pass to the prevNext component after the <article>
<!-- components/blog/_slug.vue -->

<!-- rest of file -->

<!-- Pass the data to the component props-->
<prev-next :prev="prev" :next="next"></prev-next>
Here we go:

Great!
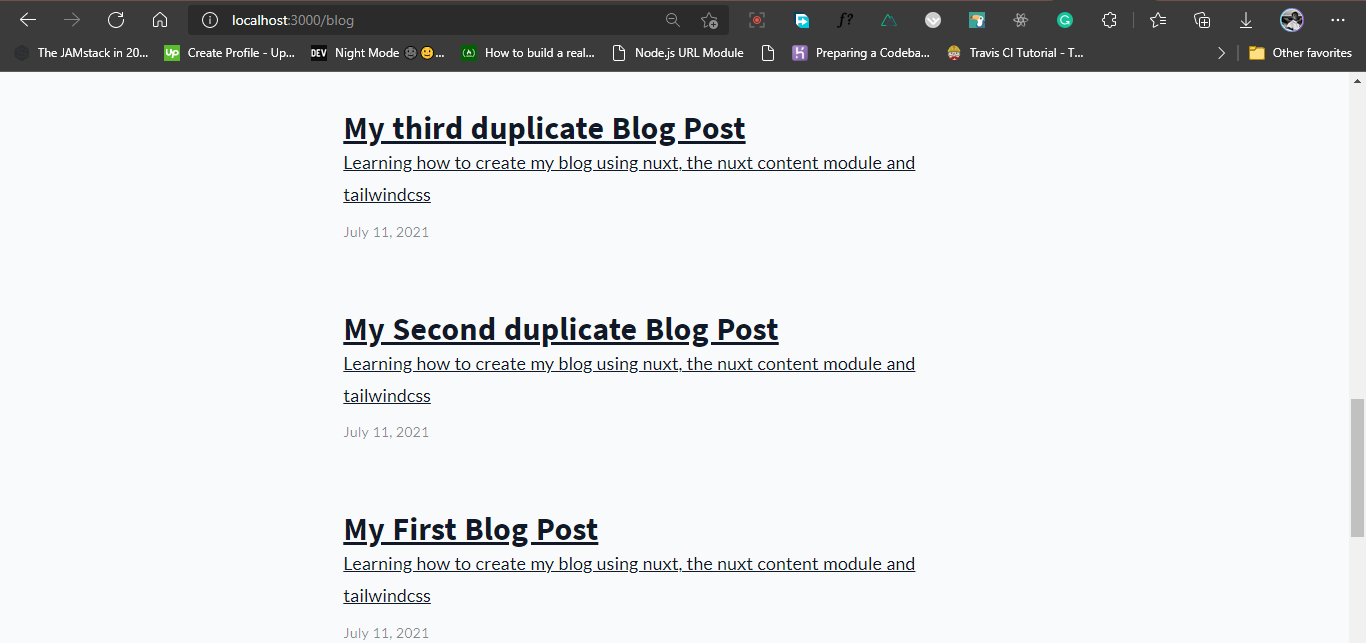
Listing out all our Articles
Now, it'll be really nice if we could display our articles on our blog page.
Let's create a new page in our blogs/ folder; pages/blogs/index.vue
Then in the <script>, we pass in $content and params into our asyncData function.
Within the function we pass aritcles which is the folder which our articles are stored into $content and chain .only(['title', 'slug', 'updatedAt', 'description']) to fetch only those attributes from the articles,
.sortBy('createdAt', 'asc') to sort it
and lastly fetch() to fetch the data and assign it to const articles
<!-- pages/blog/index.vue -->

<script>
  export default {
    async asyncData({ $content }) {
      const articles = await $content('articles')
        .only(['title', 'slug', 'updatedAt', 'description'])
        .sortBy('createdAt', 'asc')
        .fetch()

      return { articles }
    },

    methods: {
      formatDate(date) {
        // format the date to be displayed in a readable format
        }
      },
    },
  }
</script>
Now we can use the v-for directive to render our articles from the articles data
<!-- pages/blog/index.vue -->

<template>
  <section class="blog">
    <header class="blog-header">
      <h1>It's nice you're here. Welcome.</h1>
      <p>
        Have a look what I've been spending hours behind the screen writing
        about
      </p>
    </header>

    <ul class="articles">
      <li class="article" v-for="article of articles" :key="article.slug">
        <nuxt-link :to="{ name: 'blog-slug', params: { slug: article.slug } }">
          <h2>{{ article.title }}</h2>
          <p>{{ article.description }}</p>

          <div class="details-cont">
            <span>{{ formatDate(article.updatedAt) }}</span>
          </div>
        </nuxt-link>
      </li>
    </ul>
  </section>
</template>

<!--- Styling the page -->
<style scoped>
  @layer base {
    .blog {
      @apply p-4 mt-6 lg:mt-8 m-auto lg:max-w-3xl;
    }

    .blog-header {
      @apply prose lg:prose-xl;
      @apply mb-12 pb-8 lg:mb-16;
    }

    .blog-header h1 {
      @apply mb-0;
    }

    .articles .article {
      @apply prose lg:prose-lg;
      @apply pl-0 py-2 list-none;
    }

    .articles .article h2 {
      @apply mb-0;
    }
  }
</style>
Let's visit http://localhost:3000/blog, we should see our blog page
Creating a navigation for our site
The last thing we are going to be doing is creating a simple navigation that will take us to our home page and blog page.
Let's create our siteHeader.vue component in components/ with some basic styling.
<!-- components/siteHeader.vue -->

<template>
  <header id="site-header" class="site-header">
    <div class="wrapper">
      <nuxt-link to="/">
        <figure class="site-logo">
          <h1>PortfolioX</h1>
        </figure>
      </nuxt-link>

      <nav class="site-nav">
        <ul class="links">
          <li class="link">
            <nuxt-link to="/blog">Blog</nuxt-link>
          </li>
        </ul>
      </nav>
    </div>
  </header>
</template>

<script>
  export default {}
</script>

<style scoped>
  @layer components {
    .site-header {
      @apply w-auto p-4 py-8 sticky top-0 bg-white bg-opacity-70 backdrop-filter backdrop-blur-md z-10;
    }

    .site-header .wrapper {
      @apply m-auto max-w-5xl flex items-center justify-between;
    }
  }
</style>
Next, we add it to our default site layout, in layouts/default.vue
<!-- layouts/default.vue -->

<template>
  <div>
    <site-header />
    <Nuxt />
  </div>
</template>
Our siteHeader.vue It is now automatically imported into our layout. Have a look at our page
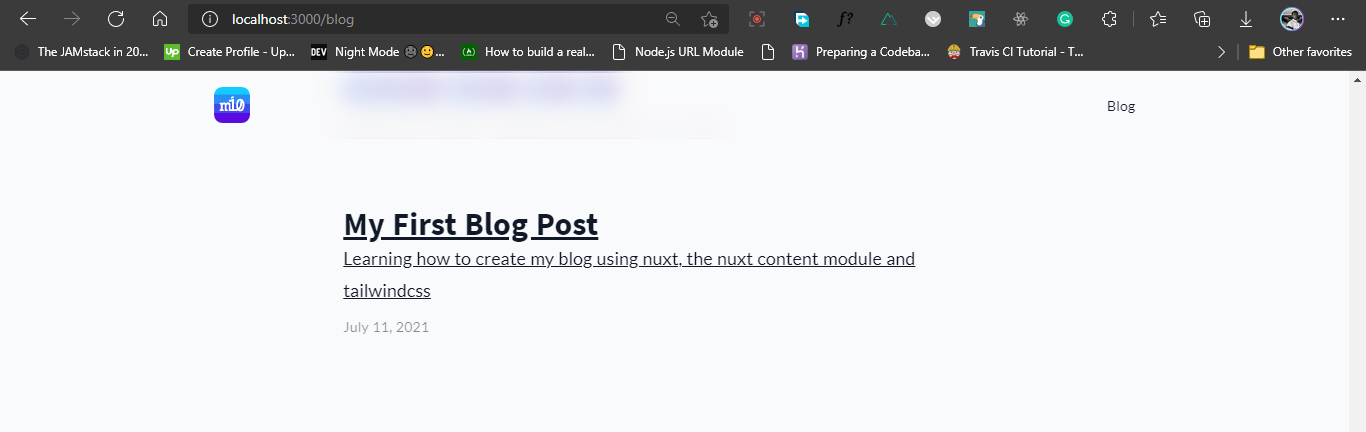
Beautiful 😘
Conclusion
We've managed to build a pretty simple blog site with important features using just one module, nuxt/content. The focus of this article was the content module, so, I'll drop links for more reading on tailwindcss.
I think this is a pretty awesome and useful feature in Nuxt.js.I think you would love to play around with it even more because there is a lot more functionality you can add to your project that we didn't cover here.
I hope you see this useful, I will consider writing on deployment in the future but I'll just drop some links that I feel are useful till then.
Thanks for reading. Happy coding 😎.
Futher Reading
Useful links
- The content module documentation: https://content.nuxtjs.org/
- NuxtJs documentation: https://nuxtjs.org/docs/2.x/get-started/installation
- Tailwindcss documentation: https://tailwindcss.com/docs/
Awesome reads
- An article on creatung a blog with Nuxt content: https://nuxtjs.org/blog/creating-blog-with-nuxt-content#add-a-search-field
- An article on building a prtfolio site with NuxtJs: https://itnext.io/building-the-ultimate-portfolio-site-with-nuxt-js-and-netlify-beautiful-blazing-fast-100-seod-102913a60cfd